Desclaimer some of the links are affiliate links and I will receive a small commission if you shop threw my link.
Well, Let me change your mind about it.
Let's face it guys, when we are renting a home it"s not always perfect and often times there are problems or things are unfinished.
Instead of trying to get your landlord to fix something especially when it comes to kitchen cabinets as long as they function they aren't going to care if there are marked up.
So here is where this easy, affordable, DIY kitchen cabinet curtains come in handy and its completely renter-friendly.
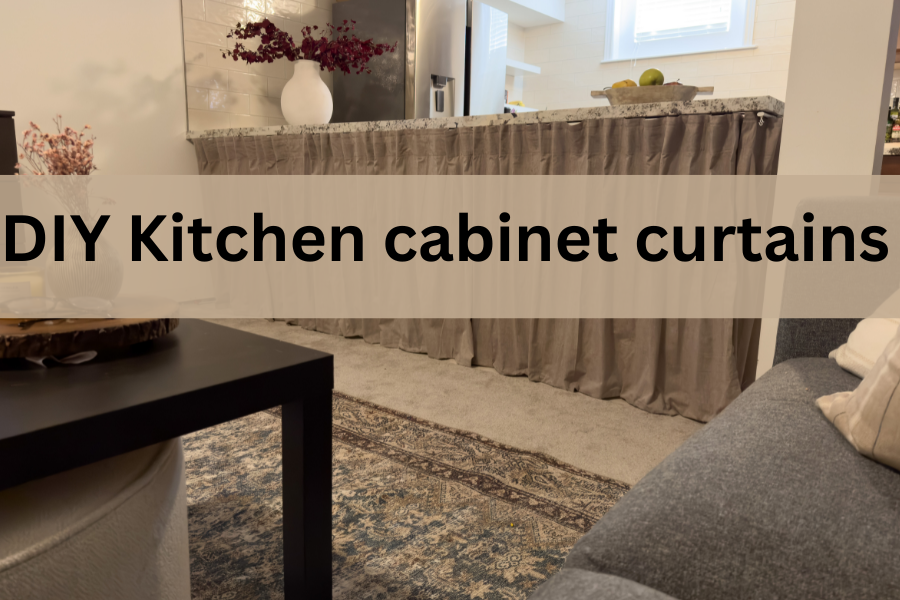
DIY Kitchen cabinet curtains

Now I thought about using some cherry wood contact paper to cover the kitchen cabinets but they are not even so that wasn't going to work and the bottom would still be left open.
Here is the Inspo picture I found on Pinterest I knew I wanted light weight linen curtains.
With wanting a light weight linen or cotton I knew they would get wrinkled but I'm totally okay with that cause I wanted that rustic European look like you might see in Italy.
While scrolling some ideas on Pinterest I came across many pictures of curtains used to cover cabinets, kitchen islands, and some used at the bottom of a bookshelf to create closed storage.
Well, I knew this was a perfect solution for my unfinished cabinets in my peninsula.
With my design style for this apartment being casual, modern, and vintage I thought this curtain idea would work really well by adding some warmth to the space, and also a rustic element.
This DIY kitchen cabinet curtains is easy to make renter -friendly too with some double sided tape and a curtain rod.
Honestly, with my design style modern, vintage I thought this ode to European style would work nicely.
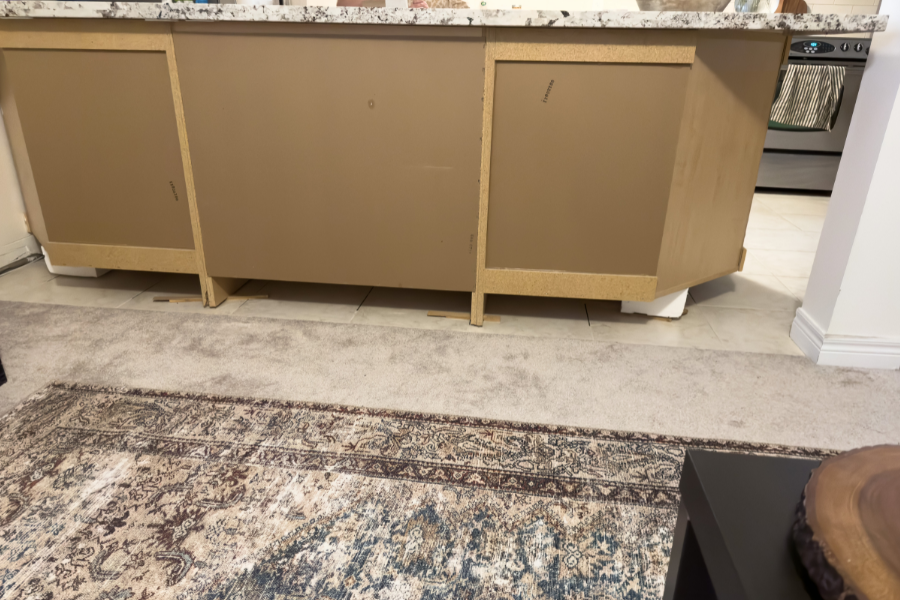
Below you will see the cabinets in my apartment. They are in the kitchen island/ peninsula.

Now we moved in rather quickly and there wasn't enough time to order materials and have them finished before we moved in.
They actually don't bother me at all, but with taking picture for the blog and other social media they don't look the greatest in photos.
Well, I love a good challenge and since my first idea with the contact paper wasn't gong to work I figured the curtains were the next best option and I think I love them more Than I would if I used the contact paper.
Here is a list of everything you will need for these the DIY kitchen cabinet curtains.

Step #1
So first things first, you need to measure your cabinet space, this will determine how many curtain panels you will need.
Note in this post I did my kitchen peninsula so I am covering a larger space and I couldn't use a tension rod like you can when you are just covering cabinet space.
I also needed to make it renter-friendly so I couldn't screw anything in.
Looking for more renter-friendly DIY projects check out my gallery wall here
The length of the peninsula is 110'' and width 39'' and the height of the counters is 34.5''
so I used two Ikea tracks on the long side of the peninsula and one on the shorter side.
I used 3 panels of curtains on the long side and one panel on the short side Each Ikea curtain panel is 57'' in width I needed 3 panels to cover my 110'' in peninsula because wanted them to have a faux pleat so keep that in mind.
I had about 60'' extra inches so I had enough fabric to create my pleats. You can add more panels if you want to make it look full but I was happy with the 3 curtain panels.
I cut my curtains to 37'' to give myself some extra length so I could fold over to hem. I would say give yourself two inches extra incase you need to cut your curtain length just so you have room to fold and hem.
I wanted my curtains to just hit the floor and puddle a little.
After hemming they are 34.5 inches in length they hang about an inch lower than the counter when placed on the rod.

step #2
cut all your curtain panels, always measure twice and give yourself a little extra just incase. you can always trim later


Step #3
Add clips to you tracks I added 12 extra clips to the longer extend rod but the two smaller ones I just used the 12 it came with.
step #4
Add double-sided tape to the top of each track I used 4, 2" pieces on the longer track and 3 on the smaller ones.
I placed mine under the counter hold for about 30 seconds to get a good stick.
Reminder This is removable double-sided tape but with any adhesive it's best to heat it up a little with a hair dryer before removing. The one I used is linked above.
I wanted to test the tape out first before I used it so I stuck a piece to under the counter left for 48 hours then heated with dryer and it peeled right off no residue and no damage.
Double-sided tape is not recommended for walls. Use command strips or hooks instead. I tried command strips but they didn't stick well to the counter.

If you have a cabinet and you have taken off the door you can place the tack inside the cabinet or you can use a tension rod too.
There wasn't anywhere to support the rod so the track with clips was the best solution for the cabinets.
step #5
Attach your curtains to the clips. As you can see in the picture below Ikea has lots of ways to hang your curtains I used the small clip section and I did every 8 notches I put another clip again I am going with a faux pleated look here.
If you are going with a curtain rod or a tension rod method you can put the curtain rings to hang them or you can just place through the top of the curtain right on to the rod.
This is more of a relaxed look and I love it! but this way didn't work in my space.
Here is an example of placing the curtains on a tension rod both ways are a great relaxed organic look but the rod and hooks worked better for my cabinets.


step #6
It's time to hem the curtains. Well I should have taken them off after I measured them but I just did the hemming while they were hanging.
Honestly, these clips are hard to get on so the thought of taking them off again I was way to lazy.
Then I ended up folding them about two inches I wasn't loving the fabric no sew glue so I just used the double sided tape and I must say it worked well.
The double sided tape gave the curtains some weight at the bottom and structure so this made them sit nicely just touching the floor.

Step #7
Time for the faux pleats. First stretch out the curtain then steam, then gathered it with your fingers like an accordion, pushing them together tightly.
Run the steamer over each fold again the tied them in place and left over night.
you can also achieve a pinch pleat look by added the steal drapery clips. They were sold out at ikea and I thought it would be fine without them I just wanted them to look more organic and rustic anyways.


step #8
Take ties off curtains and set into place if you need to steam again go ahead.
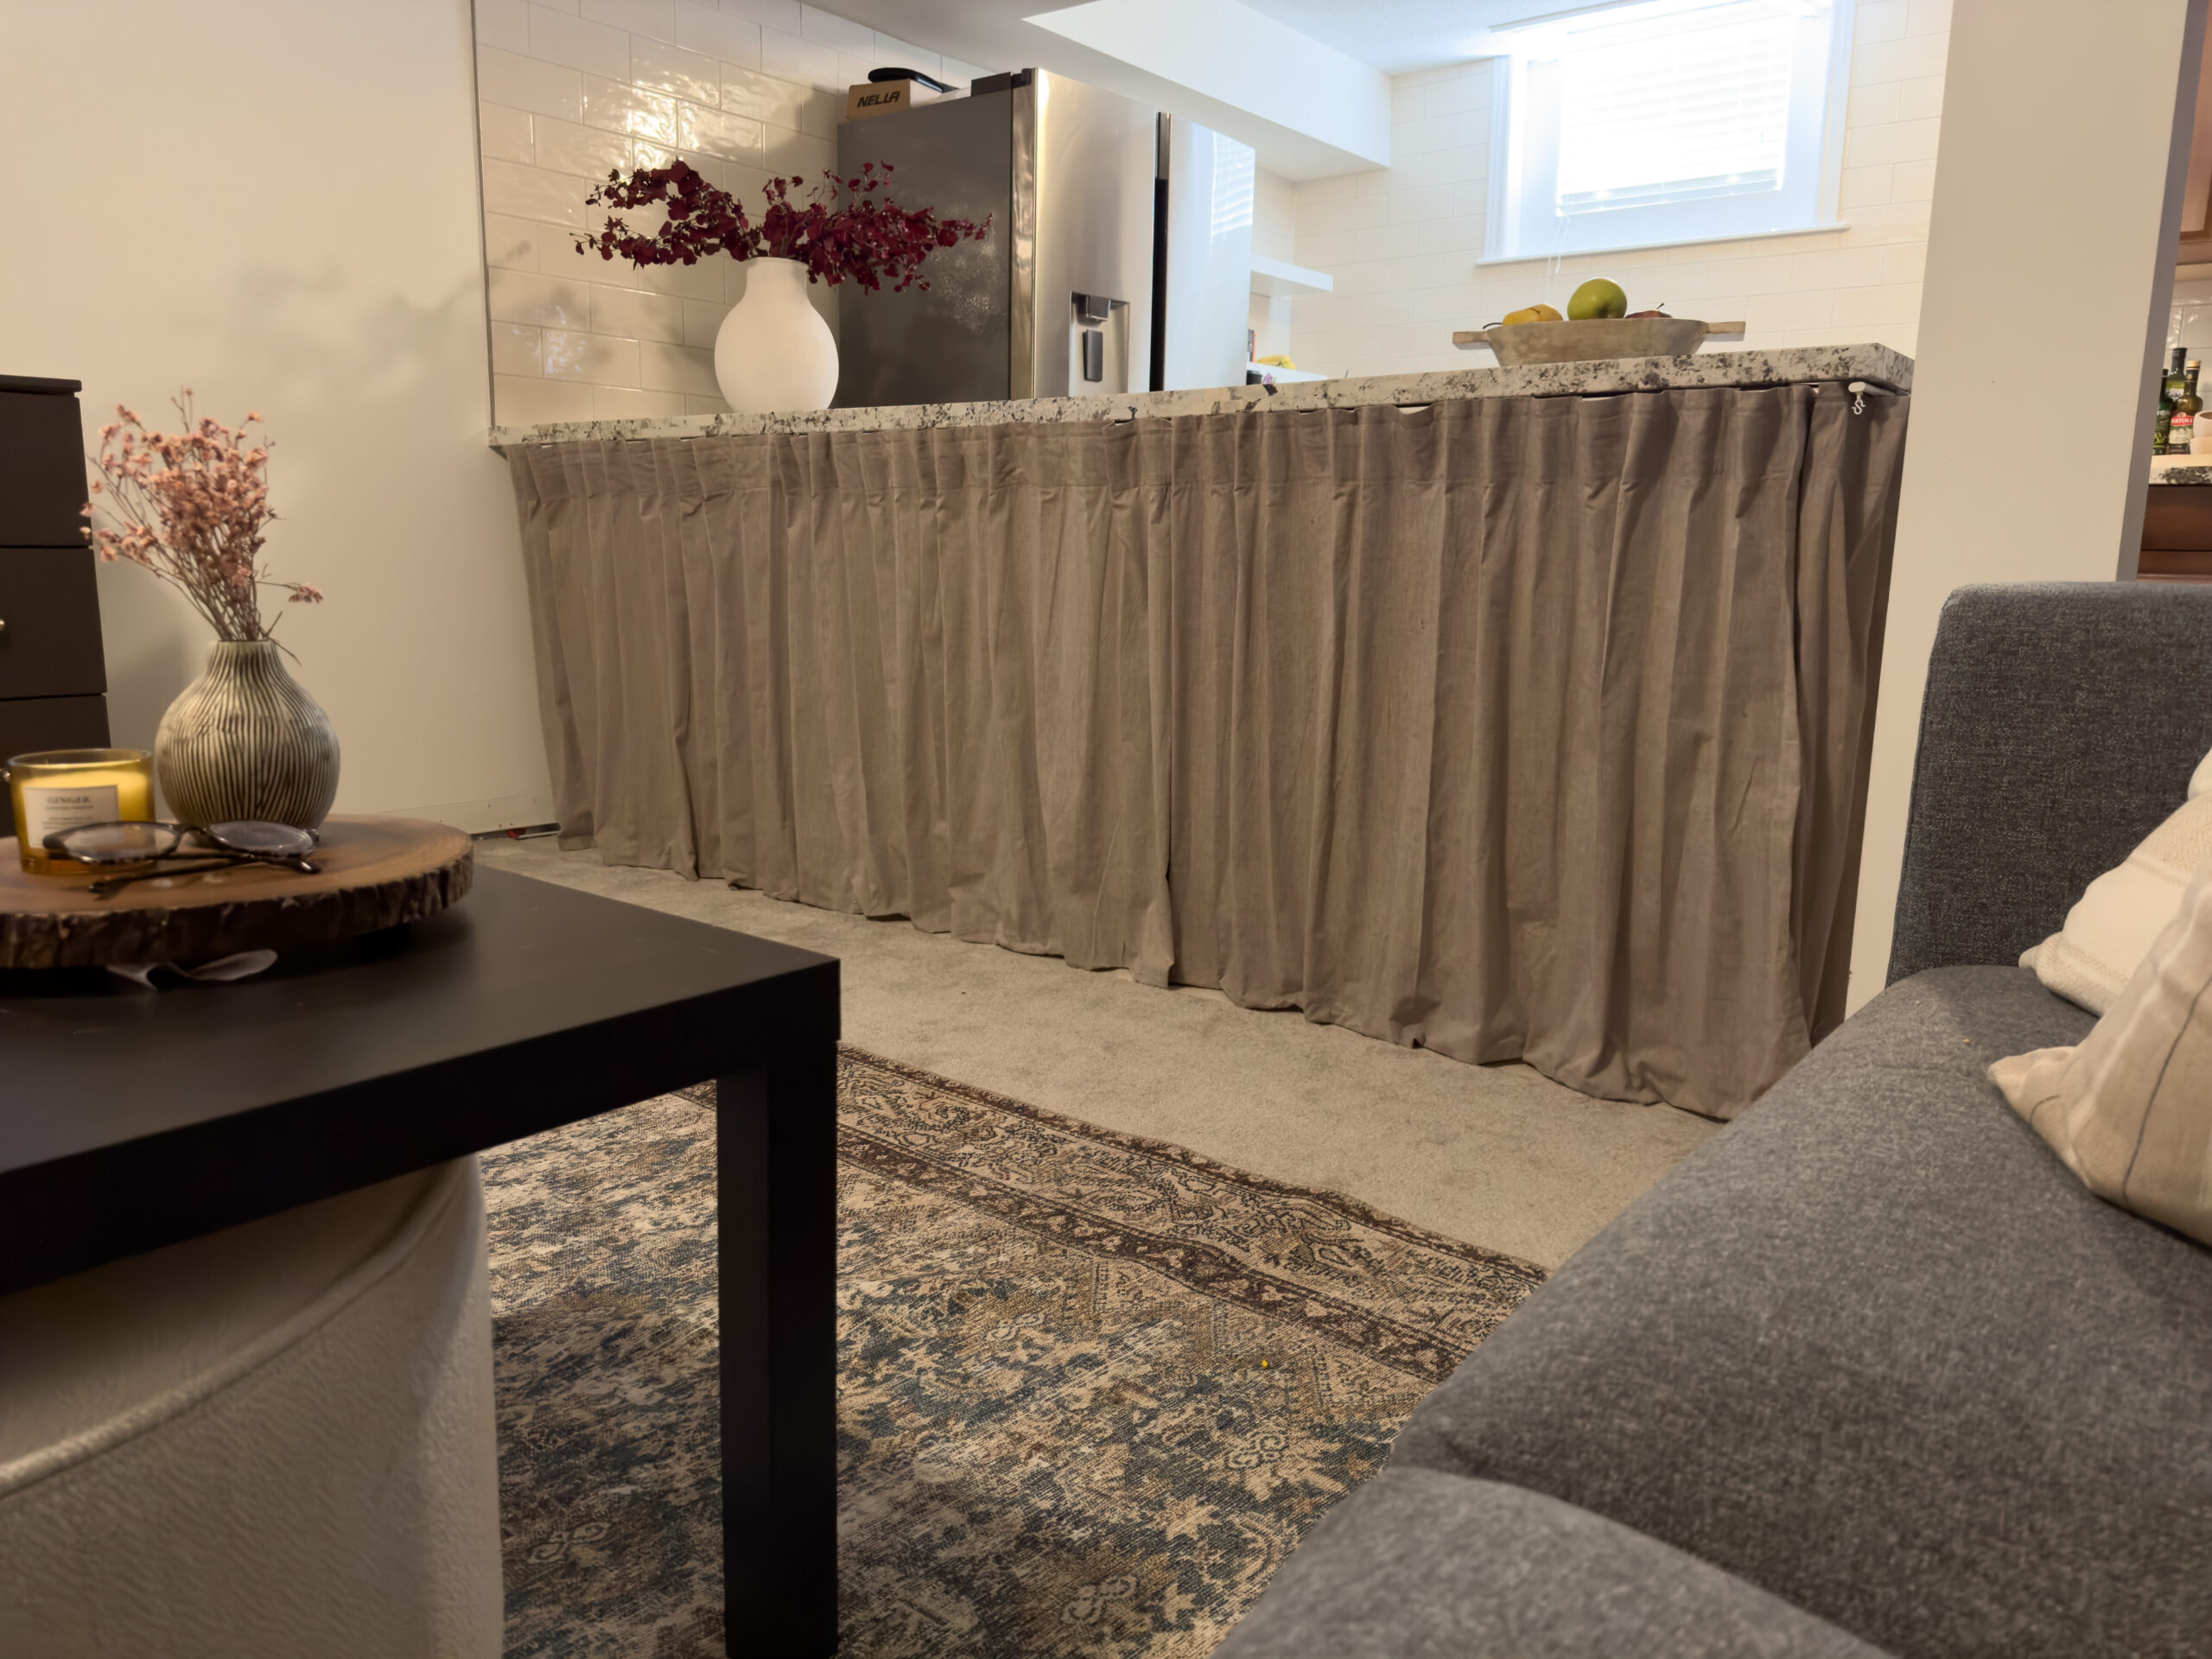
Then step back and look at your masterpiece.

AHHHHHH guys I'm so excited how this turned out!
It was easy and cost me about $100. I think it adds warmth to the space and now my photos will look better.
I love how relaxed they feel. They are definitely not perfect, and they get a bit wrinkled but I think that adds to the rustic, casual style I was going for here.
Tip: If you want a cleaner more polished look, try a heavier curtain nothing linen that will wrinkle and use curtain pins to create a more structured faux pleat.
Here is a how to on pinch pleats I found
Living room reveal coming soon!!!
Did you like this DIY cabinet makeover? want more affordable renter- friendly DIY check out my renter-friendly bathroom makeover here.
Voila! easy renter- friendly cabinet makeover complete.


0 comments